
Thanks for partnering with TonePedia – This manual will guide you through the required steps to make the TonePedia Embed available on your website. Installing the embed on your website takes between 5-30 minutes. For any questions on the integration, please do not hesitate to contact us directly at partner@tonepedia.com or via your personal contact at TonePedia. We will be happy to assist you personally in a screen sharing session if needed.
General Concept #
The TonePedia Embed is integrated into a website and loads products from TonePedia’s API to be presented in the audio player. The TonePedia Embed represents a customized application for a TonePedia client which its website users can use to test and compare musical instruments such as guitars, effect pedals and amps. The TonePedia Embed will run in an iFrame on your website. You (or your website-administrator) need to put code snippets onto your website to enable the connection to our system and to define the position on your website, where you want the Embed to be displayed. The TonePedia Embed generally works on all website types and shop systems.
Prerequisites #
- CMS: You need access to your website’s content management system or the code itself with the possibility to insert an iframe html code.
- SSL: On the client’s website there must be an SSL certificate in order to make the embeds work.
- Customized embed code: You have received your customized code snippet from TonePedia that contains an id and token unique to your company’s TonePedia embed.
Code Snippet Structure #
If you use any of the following CMS systems please skip this section.
WIX, WordPress, Squarespace, Shopware, Shopify, Typo3
In this section you will learn more about the JS code snippet which needs to be placed into the embedding website and be able to integrate it in any custom way as needed.The following snippet works for Embed Client Max Mustermann (ID 16). You can identify the ID and Token in the code snippet below.
The embed code consists of 3 parts:
- A style link
- An HTML container which serves as an anchor for the loaded iFrame. The player will be displayed here.
- A Script which loads the external TonePedia code and which is responsible creating the player
This is an example of how the code snippet looks, with comments to identify the sections.
| <!– Start Tonepedia Code –> <!– GENERAL STYLE LINK: Add following style link inside the <head></head> section –> <link href=”https://www.tonepedia.com/css/embed/embed_code.css” media=”screen” rel=”stylesheet” type=”text/css”> <!– CUSTOMER INFO: Add following client information before the main script code inside the <head></head> section –> <script id=”tp_embed_user_info” type=”text/javascript”> window._tonepedia = (typeof window._tonepedia !== ‘undefined’) ? window._tonepedia : {}; window._tonepedia[’16’] = {token: ‘d763c68eb13c76e5d3b676aeb0350acf40bbc435baddb82205c26df03e22205f’}; </script> <!– MAIN SCRIPT: Add following code inside the <head></head> section. Don’t add it more than once –> <script src=”https://www.tonepedia.com/js/build/embed_code.js” defer></script> <!– PLAYER ANCHOR: Place inside the <body></body> section. The player will be displayed wherever this container is placed –> <div id=”_tonepedia-root-16″></div> <!– End Tonepedia Code –> |
Your developer can now decide whether they want to put the complete code where the player should be displayed or they can divide them into the three parts (e.g. style link in the header – HTML container where the player needs to be displayed – script at the end of the body tags).
Recommended Position #
To give users the best chance to experience your products in the TonePedia Embed we recommend integrating it on the product landing page in the visible area above the fold. An alternative can be placing it in proximity to media assets such as product videos. It is important to make sure the Embed can be reached by the user, by viewing or scrolling when they are interested in a specific product and they do not need to click to open another page or tab in order to use the TonePedia Embed.
CMS Specific Integrations #
The following step-by-step instructions and screenshots are for the most commonly used content management systems. We will add more examples as requested by our clients.
#
WIX #
Integrating the TonePedia Embed on WIX is very straightforward thanks to the capabilities of the WIX editor. There is no need to split up the code snippet. We will simply use the native widget integration feature of WIX. Here is the step-by-step guide:
- Open your WIX editor.
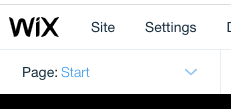
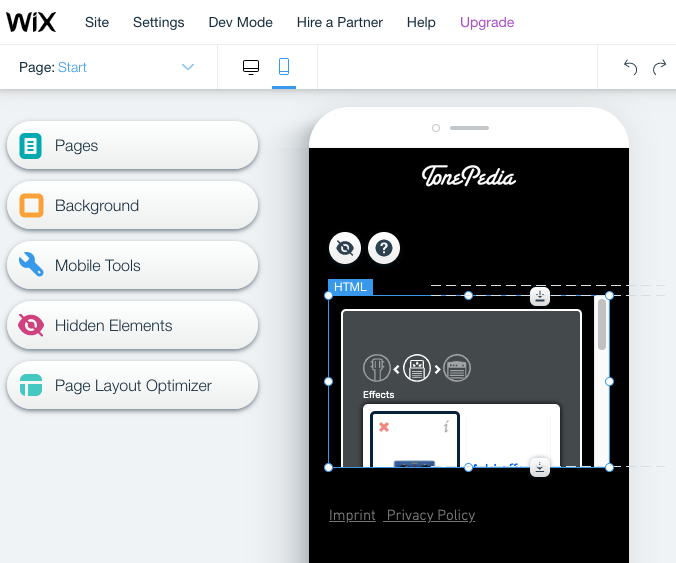
- Open the page you wish to place the TonePedia Embed from the selector in the top-left corner under the WIX icon.
- From the toolbar on the left choose the Plus (+) icon, then “Embed”, then “Custom Embed” and then click on “Embed a Widget”.

- You can now drag-and-drop the widget container to the position the TonePedia Embed should be displayed. You can always change this later.

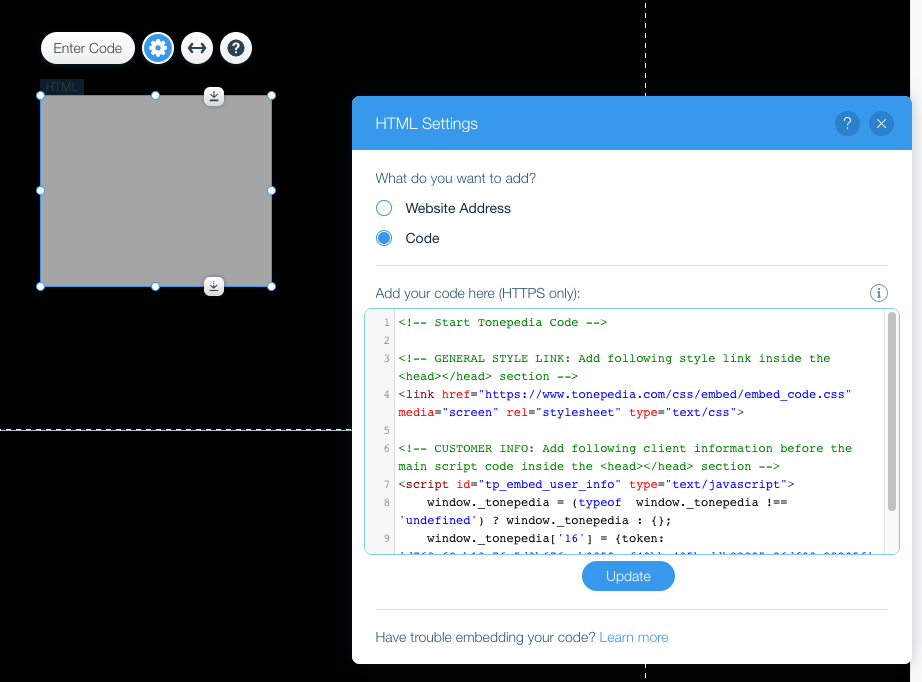
- Select “Enter Code” on top of the widget.
- Select “Code” at the question of “What do you want to add? (usually set as default) then paste your full TonePedia code snippet to the box and click “Update”.
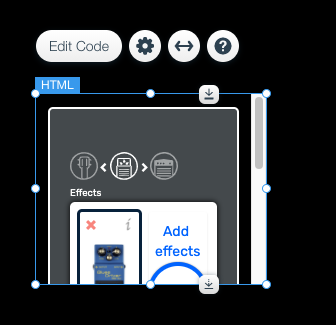
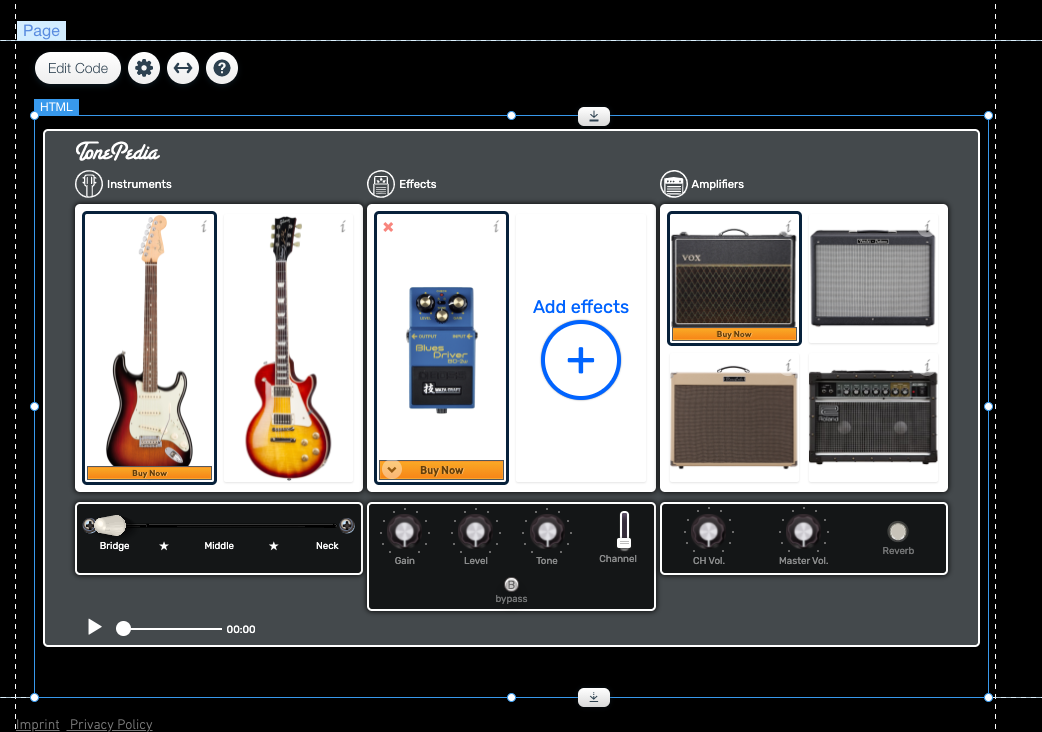
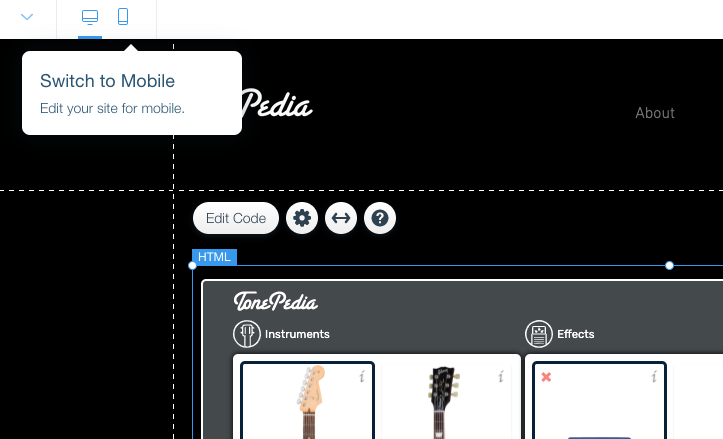
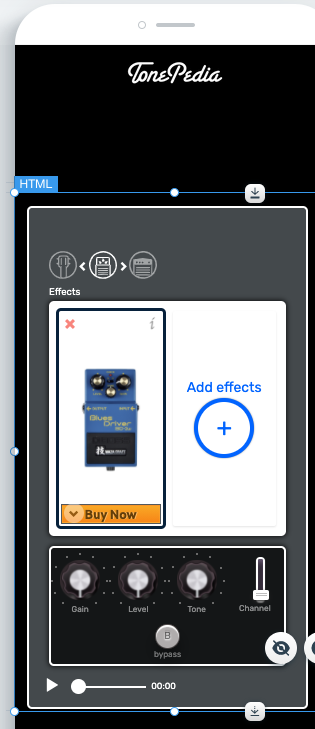
- Now it is most likely that you need to adjust the height and width of the code widget via the dots on the borders. Make sure the TonePedia Embed is fully displayed and nothing is cut-off.
- Final step is to “Switch to Mobile” view to also adjust the width and height of the Embed to your mobile layout.
#
WordPress #
Text boxes in the WP Editor usually do not accept javascript, therefore these options are recommended to enable javascript capabilities of WordPress:
- Step-by-step instructions coming soon –
Squarespace #
There are known issue with asynchronous vs. synchronous loading in Squarespace.
Please let us know if you are using Squarespace and we will get back to you with an updated code snippet and detailed instructions.
Shopware #
If you are using Shopware, our developers need to customize the code snippet in a specific way for you. Please let us know and we will get back to you with an updated code snippet and detailed instructions.
Shopify #
- Instructions coming soon –
Typo3 #
- Instructions coming soon –